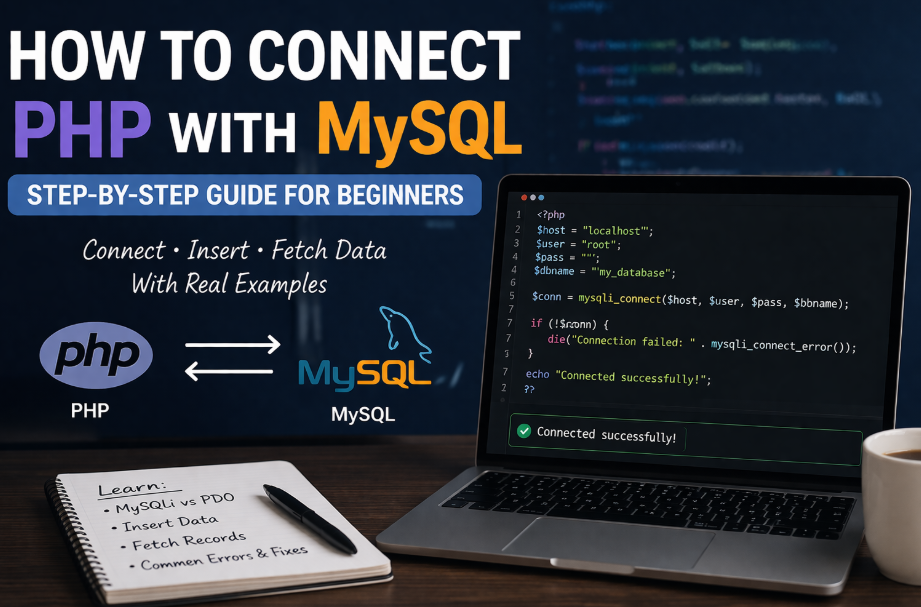
How to Connect PHP with MySQL (Step-by-Step Guide for Beginners)
Once you’ve installed PHP and MySQL, the real development starts when you connect both and work with actual data.
This guide doesn’t just show syntax — it helps you understand what’s happening so you can build real projects like login systems, dashboards, and CRUD apps.
What does “connecting PHP with MySQL” actually mean?
When you write PHP code, it runs on the server. Your data (users, posts, etc.) lives inside a MySQL database.
A connection is simply a bridge between:
- your PHP code
- your database
Without this connection, PHP cannot read or store any data.
Before you start
Make sure:
- Apache and MySQL are running (XAMPP or similar)
- You can access phpMyAdmin
- PHP files are running in your browser
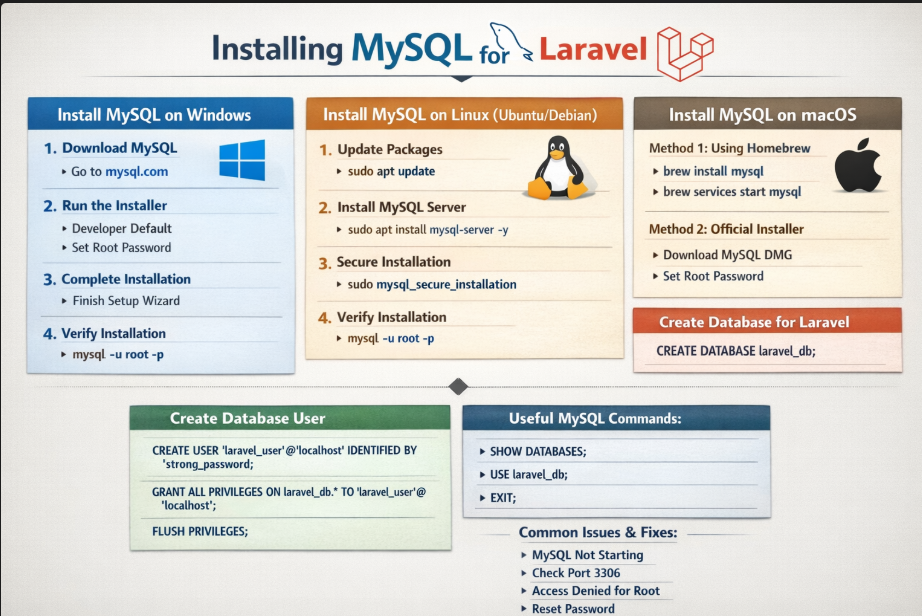
Step 1: Create a database
Go to phpMyAdmin and create a database:
CREATE DATABASE my_database;
Keep names simple in the beginning. Avoid spaces and special characters.
Step 2: Create a table
USE my_database;

CREATE TABLE users (
    id INT AUTO_INCREMENT PRIMARY KEY,
    name VARCHAR(50),
    email VARCHAR(50)
);
Why this matters:
- Every real app stores structured data
- This table is your first “real backend”
Step 3: Create the connection (MySQLi)
Create a file called connect.php:
<?php
$host = "localhost";
$username = "root";
$password = "";
$database = "my_database";

$conn = mysqli_connect($host, $username, $password, $database);

if (!$conn) {
    die("Connection failed: " . mysqli_connect_error());
}
?>
What’s actually happening here
- PHP is trying to talk to MySQL server
- If credentials are correct → connection is established
- If not → error is returned
Important point:
If this step fails, nothing else will work. Always test connection first.
Step 4: Insert data (real-world usage starts here)
<?php
include 'connect.php';

$sql = "INSERT INTO users (name, email) VALUES ('Rohan', 'rohan@email.com')";

if (mysqli_query($conn, $sql)) {
    echo "Data inserted successfully";
} else {
    echo "Error: " . mysqli_error($conn);
}
?>
Why this is important
This is how:
- users register
- forms submit data
- applications store information
You’re now writing to a database, not just printing text.
Step 5: Fetch data (this is what users see)
<?php
include 'connect.php';

$sql = "SELECT * FROM users";
$result = mysqli_query($conn, $sql);

while ($row = mysqli_fetch_assoc($result)) {
    echo $row['name'] . " - " . $row['email'] . "<br>";
}
?>
What this teaches you
- Databases are useless if you can’t retrieve data
- This is how dashboards, tables, and user lists work
MySQLi vs PDO (which one should you use?)
You’ll see two ways to connect PHP with MySQL:
MySQLi
- Easier for beginners
- Works only with MySQL
PDO
- Works with multiple databases
- More flexible and secure
PDO example
<?php
try {
    $conn = new PDO("mysql:host=localhost;dbname=my_database", "root", "");
    $conn->setAttribute(PDO::ATTR_ERRMODE, PDO::ERRMODE_EXCEPTION);
    echo "Connected successfully";
} catch (PDOException $e) {
    echo $e->getMessage();
}
?>
Practical advice
- Start with MySQLi to understand basics
- Move to PDO when building real projects
Common mistakes beginners make
1. MySQL not running
If Apache is running but MySQL is stopped, connection will fail.
2. Wrong database name
Even a small typo will break everything.
3. Not including connection file
Forgetting include 'connect.php'; is very common.
4. Mixing HTML and PHP without understanding flow
Keep logic separate in the beginning.
What should you do next?
Don’t just read this — build something small:
- Create a form
- Insert user data
- Display it in a table
That one mini project will teach you more than multiple tutorials.
Recent Posts
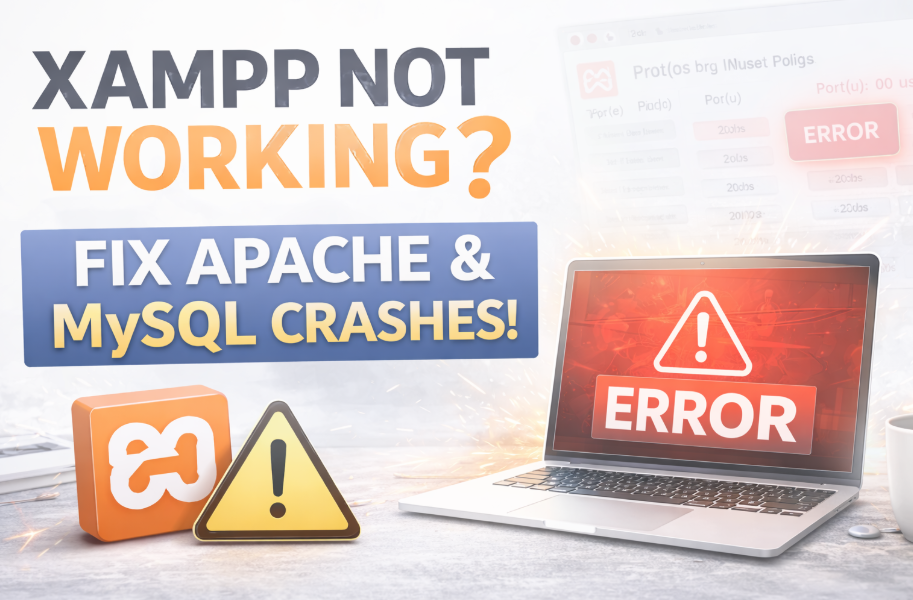
XAMPP Not Working? Fix Apache & MySQL Crashing Issues (Step-by-Step Guide)
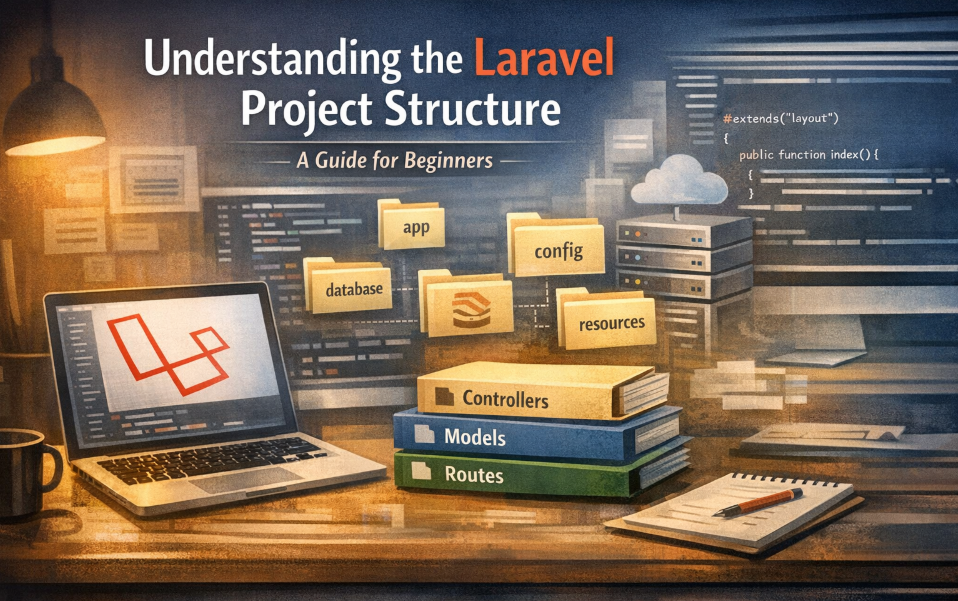
Laravel Folder Structure Explained
How to Run Your First PHP Project on Localhost (Step-by-Step Beginner Guide)

How to Install XAMPP on Windows and Run Your First PHP Project (2026 Beginner Guide)