How to Install XAMPP on Windows and Run Your First PHP Project (2026 Beginner Guide)
Introduction
If you want to start learning PHP development, the first step is setting up a local development environment on your computer.
PHP applications require a web server and a database system to run properly. Installing and configuring these components individually can be complicated for beginners.
XAMPP solves this problem by providing a complete development stack that includes Apache, PHP, and MySQL in a single installer. Once installed, you can run PHP applications directly on your computer without needing web hosting.
If you have already installed PHP manually, you can also follow our guide on
How to Install PHP on Windows, Linux, and macOS
This guide will walk you through installing XAMPP on Windows and running your first PHP project using localhost.
What is XAMPP?
XAMPP is a free and open-source local server environment designed for PHP development.
It allows developers to run PHP applications locally by installing all required components in one package.
The name XAMPP stands for:
X – Cross-platform
A – Apache Web Server
M – MySQL / MariaDB Database
P – PHP
P – Perl
With XAMPP installed, your computer acts like a web server, making it possible to develop and test PHP applications before deploying them to a live server.
You can download XAMPP from the official Apache Friends website:
Why Developers Use XAMPP
Many beginners choose XAMPP because it simplifies the setup process.
Some benefits include:
Simple installation process
Includes Apache, PHP, and MySQL in one package
Built-in database management using phpMyAdmin
Works well for beginners learning PHP
Free and open-source
XAMPP is commonly used for testing PHP applications before moving them to production environments.
System Requirements
Before installing XAMPP, make sure your system meets these requirements:
Windows 10 or Windows 11
Minimum 2 GB RAM
Around 500 MB of free disk space
Administrator access for installation
Step 1: Download XAMPP
- Open your web browser.
- Visit the official XAMPP website:
- Click the Download button for the Windows version.
Choose the latest stable version available.
Step 2: Run the Installer
After downloading the installer file:
- Open the downloaded
.exefile. - Windows may display a security warning. Click Yes to continue.
- The XAMPP installation wizard will start.
Click Next to proceed.
Step 3: Select Components
During installation, you will see a list of components.
The most important components include:
Apache – the web server that runs PHP applications
MySQL – the database server
PHP – the PHP interpreter
phpMyAdmin – a browser-based MySQL management tool
You can keep the default selections and continue.
Click Next.
Step 4: Choose Installation Folder
By default, XAMPP installs in the following directory:
C:\xampp
It is recommended to keep this default location.
Click Next to continue.
Step 5: Complete the Installation
The installer will now copy all necessary files to your computer.
This process may take a few minutes.
Once the installation finishes:
- Click Finish
- The XAMPP Control Panel will open.
Step 6: Start Apache and MySQL
The XAMPP Control Panel allows you to start and stop server services.
To start your local server:
- Click Start next to Apache
- Click Start next to MySQL
When both services are running, their status will turn green.
This means your local development server is active.
Step 7: Test the Installation
To check whether XAMPP is working correctly:
- Open your browser
- Visit the following URL
http://localhost
If everything is configured correctly, the XAMPP dashboard page will appear.
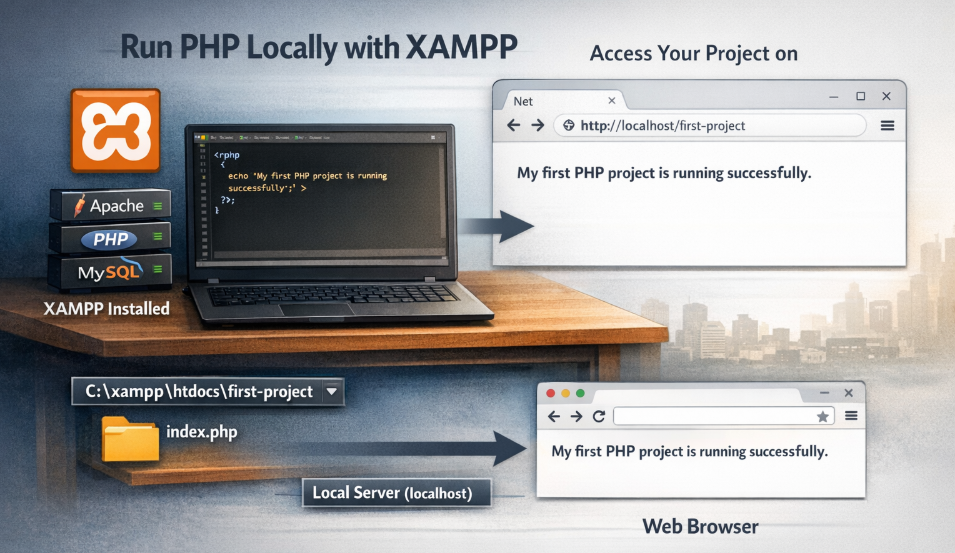
Step 8: Create Your First PHP File
Now you can create your first PHP script.
Navigate to the following folder inside your XAMPP installation:
C:\xampp\htdocs
This directory stores all files accessible through localhost.
Create a new file called:
index.php
Add the following code inside the file:
<?php
echo "Hello, PHP is working!";
?>
Save the file.
Step 9: Run the PHP Script
Open your browser and go to:
http://localhost/index.php
If the configuration is correct, the browser will display the message:
Hello, PHP is working!
This confirms that your PHP environment is running successfully.
If you are new to PHP, you may also want to read:
Understanding the htdocs Folder
The htdocs folder acts as the root directory for your local website.
All PHP projects should be stored inside this folder.
For example:
C:\xampp\htdocs\myproject
You can access it in your browser using:
http://localhost/myproject
This structure allows you to create multiple PHP projects and run them locally.
Accessing phpMyAdmin
XAMPP also includes phpMyAdmin, which provides a graphical interface for managing MySQL databases.
To open phpMyAdmin, visit:
http://localhost/phpmyadmin
Using phpMyAdmin, you can:
Create databases
Create tables
Insert and manage data
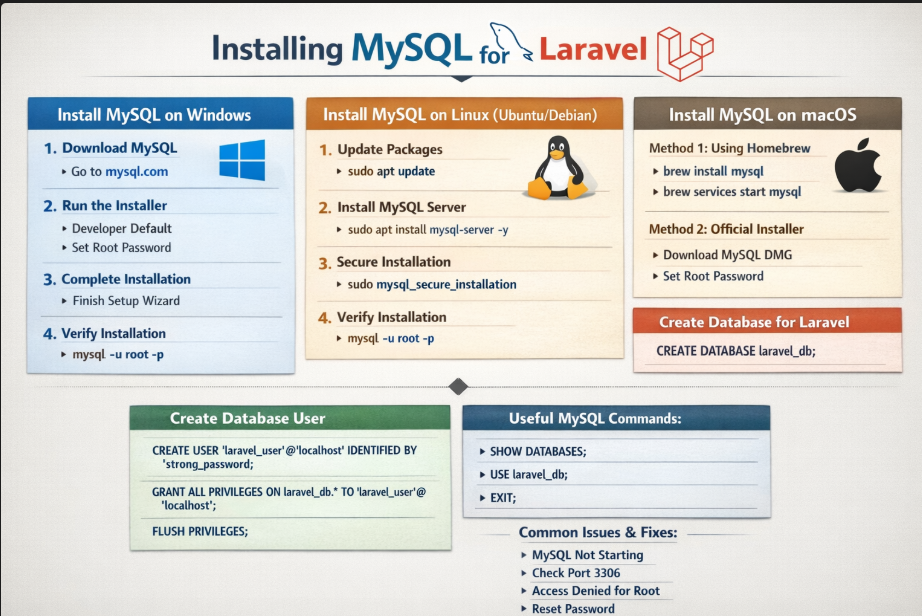
If you want to install MySQL manually instead of using XAMPP, see our guide:
How to Install MySQL on Windows, Linux, and macOS
More information about phpMyAdmin is available on the official website:
Common Problems and Solutions
Apache Not Starting
If Apache fails to start, the most common reason is a port conflict.
Another application may already be using port 80.
Possible solutions include:
Disabling IIS from Windows features
Changing the Apache port from 80 to 8080
Restarting the XAMPP Control Panel
MySQL Not Starting
If MySQL fails to start, another MySQL service may already be running on your system.
Stopping the existing MySQL service usually resolves the issue.
You can manage Windows services from the Services Manager in the Control Panel.
Tags
Recent Posts
XAMPP Not Working? Fix Apache & MySQL Crashing Issues (Step-by-Step Guide)
How to Connect PHP with MySQL (Step-by-Step Guide for Beginners)
Laravel Folder Structure Explained
How to Run Your First PHP Project on Localhost (Step-by-Step Beginner Guide)