The Ultimate Guide: Setting Up Laravel on Ubuntu (2026 Edition)
Setting up Laravel on Ubuntu is almost a rite of passage for every PHP developer.
If you’ve been following outdated tutorials, you’ve probably seen bloated setups, Apache configs from 2015, or random copy-paste commands that break half the time.
But it’s 2026, and the modern stack looks different.
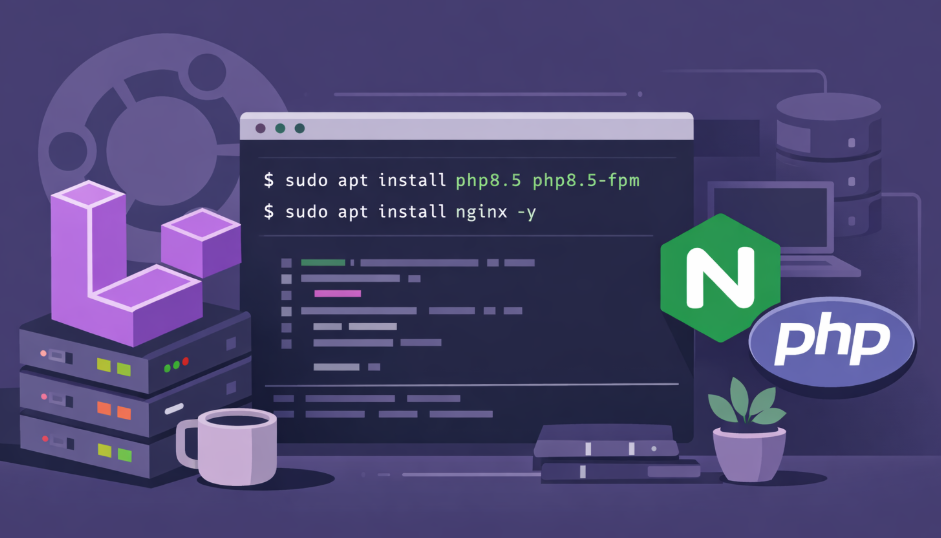
We are going to build a clean, production-ready environment using:
This stack is commonly called the LEMP stack, and it’s lightweight, fast, and perfect for modern Laravel applications.
Let’s build it step by step.
Step 1: Update Your System
Before installing anything, always update your system packages.
This avoids dependency issues later.
sudo apt update && sudo apt upgrade -y
Developer Tip:
Never skip system updates on a fresh server. Many PHP extension errors happen simply because the package index is outdated.
Step 2: Install PHP 8.5 and Required Extensions
Laravel depends on several PHP extensions for encryption, database access, and string handling.
The default Ubuntu repositories are often outdated, so we use the trusted ondrej PHP repository.
sudo add-apt-repository ppa:ondrej/php -y
sudo apt update
Now install PHP and its extensions:
sudo apt install php8.5 php8.5-fpm php8.5-mysql php8.5-xml php8.5-curl php8.5-mbstring php8.5-zip php8.5-bcmath php8.5-intl php8.5-sqlite3 -y
After installation, verify it:
php -v
You should see something like:
PHP 8.5.x (cli)
💡 Why PHP-FPM?
Instead of running PHP directly in the web server, PHP-FPM handles requests separately, making the setup faster and more scalable.
Step 3: Install Composer (Laravel’s Dependency Engine)
Every Laravel project relies on Composer.
Without Composer, you simply cannot install or manage Laravel packages.
Install it globally:
curl -sS https://getcomposer.org/installer | php
sudo mv composer.phar /usr/local/bin/composer
Verify installation:
composer -V
Pro Tip:
Installing Composer globally saves a lot of time when managing multiple projects.
Step 4: Install and Configure MySQL
Laravel applications need a reliable database, and MySQL remains the most popular choice.
Install MySQL:
sudo apt install mysql-server -y
Secure your installation:
sudo mysql_secure_installation
This script will help you:
- Set a root password
- Remove anonymous users
- Disable remote root login
- Remove test databases
All of these steps improve server security.
Create a Database for Laravel
Login to MySQL:
sudo mysql
Then run:
CREATE DATABASE laravel_db;
CREATE USER 'laravel_user'@'localhost' IDENTIFIED BY 'your_strong_password';
GRANT ALL PRIVILEGES ON laravel_db.* TO 'laravel_user'@'localhost';
FLUSH PRIVILEGES;
EXIT;
💡 Best Practice:
Never use the MySQL root user in production applications.
Always create a dedicated database user.
Step 5: Install Nginx and Configure Virtual Host
Most beginners use:
php artisan serve
But that command is only meant for local development.
For real deployments, we use Nginx.
Install Nginx:
sudo apt install nginx -y
Create a Laravel Server Configuration
Create a new config file:
sudo nano /etc/nginx/sites-available/laravel
Paste this configuration:
server {
    listen 80;
    server_name your_domain.com;
    root /var/www/laravel/public;

    add_header X-Frame-Options "SAMEORIGIN";
    add_header X-Content-Type-Options "nosniff";

    index index.php;
    charset utf-8;

    location / {
        try_files $uri $uri/ /index.php?$query_string;
    }

    location ~ \.php$ {
        fastcgi_pass unix:/var/run/php/php8.5-fpm.sock;
        fastcgi_param SCRIPT_FILENAME $realpath_root$fastcgi_script_name;
        include fastcgi_params;
    }

    location ~ /\.(?!well-known).* {
        deny all;
    }
}
Enable the configuration:
sudo ln -s /etc/nginx/sites-available/laravel /etc/nginx/sites-enabled/
sudo nginx -t
sudo systemctl restart nginx
💡 Important:
Always run nginx -t before restarting the server.
A small typo in the config file can crash Nginx.
Step 6: Create Your Laravel Project
Now comes the exciting part.
Navigate to your web directory:
cd /var/www
Create the Laravel project:
sudo composer create-project laravel/laravel laravel
This will download the latest Laravel version and install all dependencies.
Depending on your internet speed, this may take a minute or two.
Step 7: Fix Folder Permissions (Very Important)
This step is responsible for 90% of Laravel deployment errors.
The web server must have permission to write to certain directories.
Run:
sudo chown -R www-data:www-data /var/www/laravel/storage /var/www/laravel/bootstrap/cache
sudo chmod -R 775 /var/www/laravel/storage /var/www/laravel/bootstrap/cache
Without this step, Laravel will throw a 500 Internal Server Error.
Final 2026 Laravel Deployment Checklist
Before considering your setup complete, double-check these:
1️⃣ Configure Environment Variables
Edit the .env file:
DB_DATABASE=laravel_db
DB_USERNAME=laravel_user
DB_PASSWORD=your_strong_password
2️⃣ Run Migrations
Create your database tables:
php artisan migrate
3️⃣ Optimize Laravel
Cache configuration and routes for better performance:
php artisan optimize
MasterPHP Pro Tip
In 2026, running a website without HTTPS is simply not acceptable.
Modern browsers aggressively block insecure sites.
Install Certbot to enable free SSL from Let's Encrypt:
sudo apt install certbot python3-certbot-nginx
Then run:
sudo certbot --nginx
Within seconds, your Laravel application will be running on secure HTTPS.
Your Laravel Server is Ready 🚀
At this point, you’ve successfully built a modern Laravel environment using:
- Laravel
- Ubuntu
- Nginx
- PHP 8.5
- MySQL
This setup is not just for learning — it’s production-ready and scalable.
Most developers struggle with Laravel deployments because they rely on outdated tutorials or incomplete guides. By following this workflow, you now have a clean, modern LEMP stack that can handle real-world applications.
If you’re building serious PHP applications in 2026, this is the foundation you should start with.
Now the real fun begins: building something great with Laravel.
Recent Posts
XAMPP Not Working? Fix Apache & MySQL Crashing Issues (Step-by-Step Guide)
How to Connect PHP with MySQL (Step-by-Step Guide for Beginners)
Laravel Folder Structure Explained
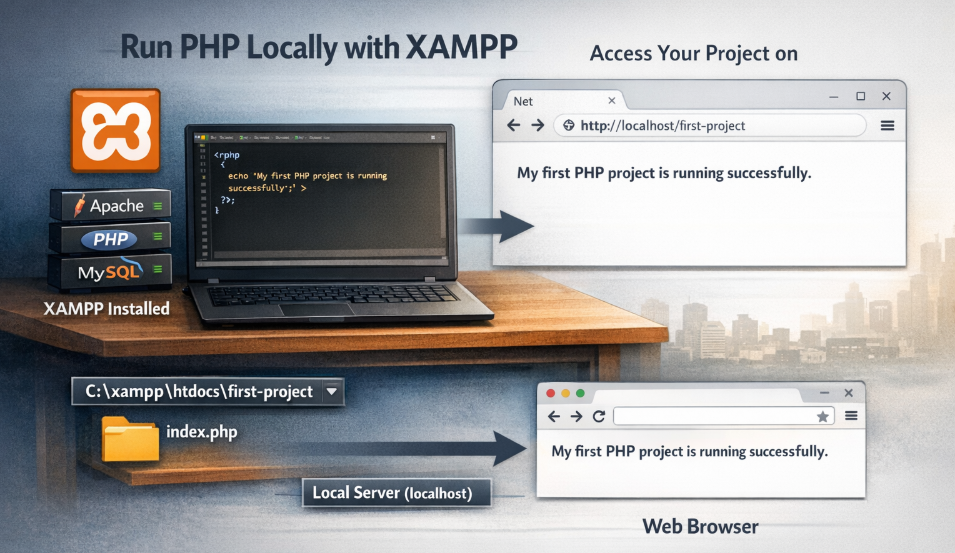
How to Run Your First PHP Project on Localhost (Step-by-Step Beginner Guide)
